Overview
Welcome to Audio Made Easy!
Using audio in your teaching offers an engaging means to convey course content, adds variety to your instruction and – when teaching online – is a powerful way to bring sound and your voice into the course. This online module aims to demonstrate what good quality audio is, how to record it using accessible equipment and software, and how to record, edit and incorporate audio into your PowerPoint presentations.
Intended Learning Outcomes
By the end of this module, you should be able to:
- Recognize what good quality audio sounds like
- Identify the basic parts of a DIY digital recording station
- Describe steps to record and edit voiceover audio using both PowerPoint and Camtasia
- Describe steps for adding audio and voiceover to your teaching presentations.
The Importance of Great Audio
What is Audio?
When developing content for online learning, one of the crucial elements is having great audio. You can make a great video, but if the audio is poor, it can greatly detract from the learning experience. People have a greater tolerance for poor video than they do poor audio. In this section, you’ll learn about what audio is and how to create great audio to capture learner attention.
For our purposes, when discussing audio, it is usually in reference to the capture of sound. Audio is a term used in relation with computing and electronic devices for recording, processing, storing, and playing sound.
What we mean by sound, is that it is the audible portion of frequencies within the range of human hearing. There are also inaudible sounds that can be heard by animals or used in other applications for technology and medicine. To go a bit deeper, sound is a form of mechanical energy that travels through the air and substances and measured in hertz (Hz). Humans typically can only hear between 20 to 20,000 Hz.
Examples of Audio:
Next, we’ll provide some examples of poor and great audio.
Audio free from background noise:
- Audio that contains a lot of background noise makes it harder for students to concentrate on you and what you are saying. Subconsciously, the brain is trying to decipher all of the sounds and put them into context. This can quickly create fatigue and students will find it difficult to learn. Background noises include loud fans, A/C units, wind, other voices, and environmental noise.To understand what background noise is, try listening to the example of noisy audio below.
Now, listen to this example of clean audio, with no background noise. Can you hear the difference?
Audio free from distractions:
- If there are distracting noises in your audio it can immediately disrupt the learning experience. These include things like dogs barking, keyboard and mouse clicking, banging, ringing, etc.Here is an example of audio with distracting noises. Do you find it disruptive to learning?
Audio that is loud, but not too loud:
- When recording audio it is important to record at the proper volume to ensure students can hear you. It is also important the audio is not too loud to prevent distortion. Distortion refers to anything unexpected in the behaviour of a sound wave. This could mean you hear electonic interference, buzzing, or it just doesn’t sound correct, and therefore it is distorted in some way.When using the recording software, check that the recording volume levels are between -10dB to -6dB. It is also advised to keep your mouth 6 -12 inches away from the mic to prevent loud distortions in your recordings.Here is an example of voiceover audio in which a person recorded too closely to the mic, without checking the volume levels first. Can you hear the audio distortions?
Audio that captures the students attention:
- Once you have mastered some technical aspects of recording great audio, it is is equally important that you speak in an engaging way. Try to use inflection in your voice, and speak naturally with a quick, conversational pace (about 120-150 words per minute). You should communicate your passion for the subject matter using your voice. This, will keep learners engaged.
Audio that avoids errors:
- When you record your audio, it is important that you speak clearly and deliberately. You want learners to understand what you are talking about, and this will enable automatic captioning services to better distinguish what is being said.If you make a mistake – pause and start again. You can easily edit mistakes out using software to make it sound completely seamless.
Audio Recording Principles
Now, that you understand what great audio sounds like, this section will provide the knowledge to get you ready to record. To start, here are four simple principles you should consider:
- Listen carefully. As we mentioned above, distracting and noisy backgrounds can ruin a great audio recording. Before recording, listen carefully to the noise in the room and do whatever you can to eliminate those sounds while recording. This can mean turning off electrical appliances, shutting a window, changing rooms, or muffling the noise with something that will absorb the unwanted sound. If you can’t relieve a constant noise in your recording environment, like a fan for instance, try recording the room tone for 30 seconds before speaking. This will capture just the noise in the background. Some audio software options can capture this noise and give you the option to remove it from the recording.
- Distance from the mic. The closer you are to the mic, the more it will capture your voice. The rule of thumb is 4 fingers away from the mic, or 6 -12 inches. Do a test recording to find the right distance and the right speaking volume.
- Get Cozy. It sounds silly, but one of the best places to record great audio is in a closet. Or, any room that will absorb noise with soft wall coverings. Rooms with hard walls, concrete, or empty space will cause sound to bounce around and sound thin, making it hard to hear your voice clearly.
- Use voice-over. When you start to do a recording, sometimes the room is too noisy, your voice just isn’t working, or it feels strange to hear yourself recorded for the first time. No problem. Use these circumstances to your advantage by perfecting your content, scripting and practising the right pace and flow for your voiceover. It can take time and practice to find your “voice” for recording and presentation. Once you are comfortable and you have control of the sound in your environment, try recording!
Pro Tip: Record a few seconds of audio then stop and listen to it. Do you like how it sounds? Is it loud enough? Are there any distracting noises? Make necessary adjustments before recording your full session.
USB Mic and Headphone Selection
Today, most computers have great mics that will allow you to create great audio. Following the tips in the previous section will improve the quality even more. The challenge with the internal mics on a computer or laptop, is they are designed to capture all sound – which increases the likelihood that it will pick up unwanted noises. Using a headset or the mic attached to your earbuds/headphones will greatly increase the quality of your recording by bringing the mic closer to your mouth.
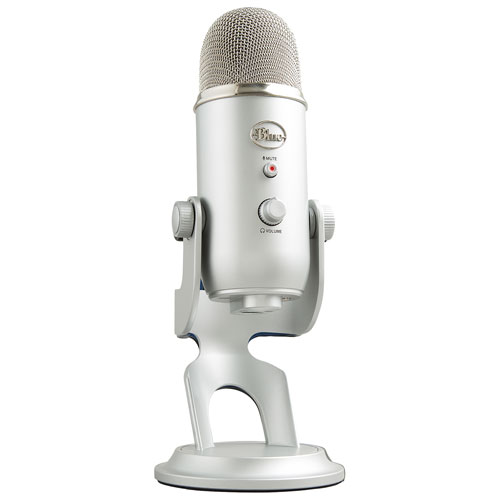
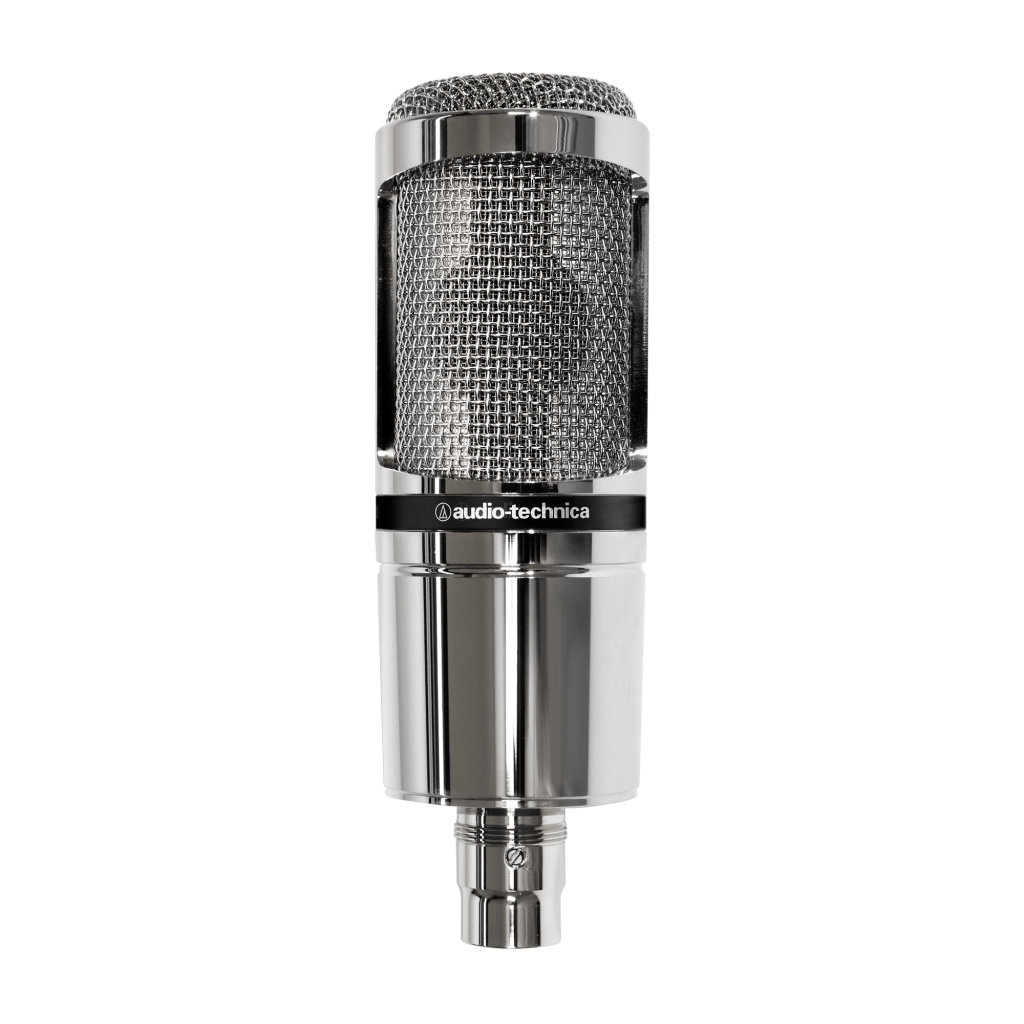
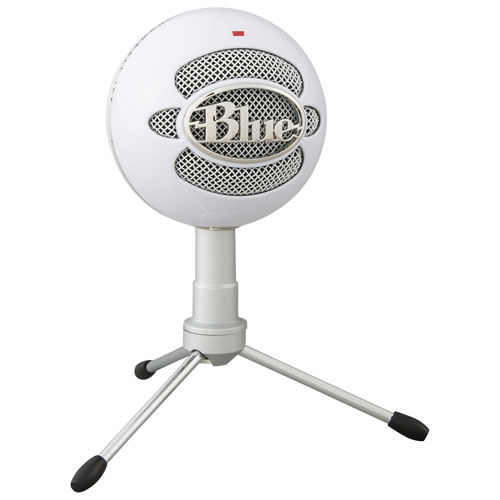
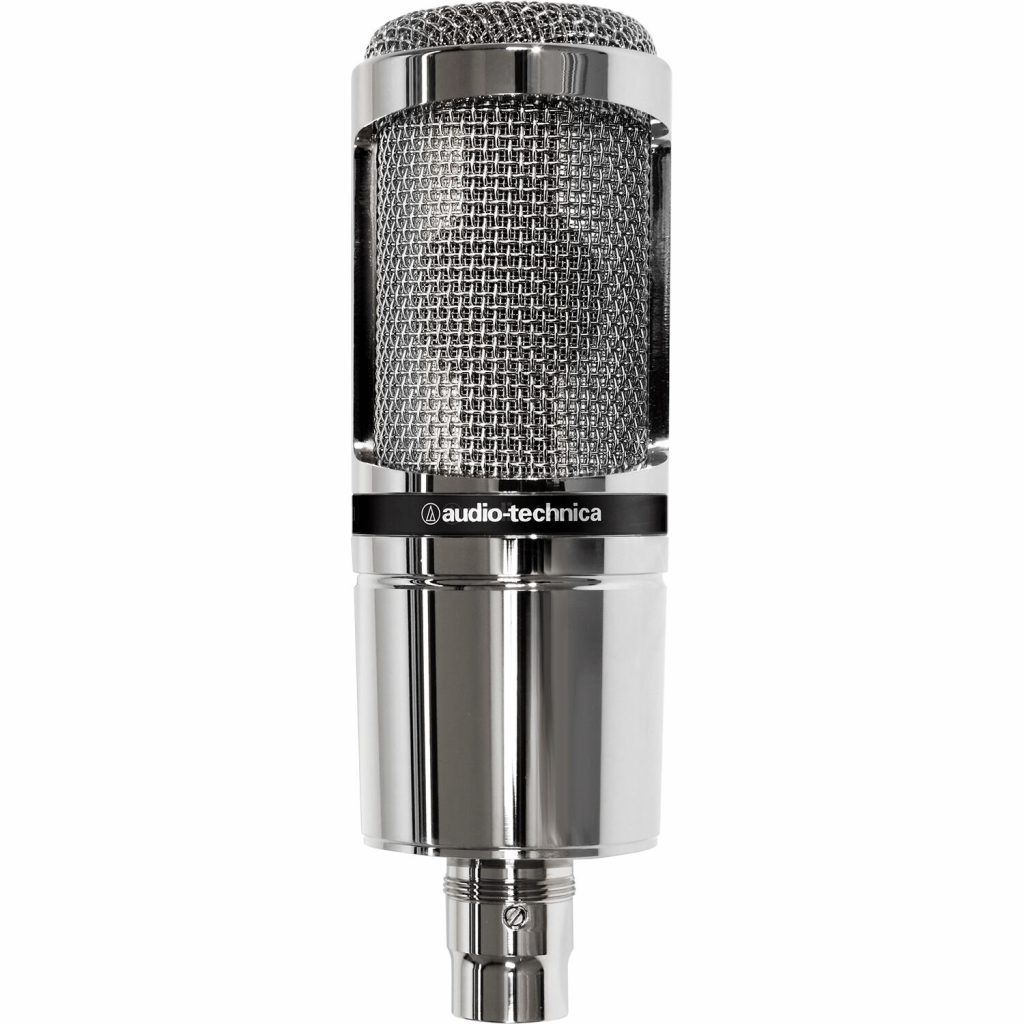
If you want higher quality audio, you may need to invest in a home studio setup. Quality sound can be achieved without a huge investment. The most crucial part of the setup is the mic. A good option is to purchase a USB microphone. The following miss are affordable, easy to set up devices that should connect to most computers via the USB input. Make sure to do some research before you purchase a device to ensure you find something that fits your needs.
Blue Yeti

Rode Podmic

Yeti Snowball

Audio Technica AT2020

In addition to a good mic, you may also want to invest in a quality set of headphones. While the ones that come with your phone are typically good, they can make it difficult to accurately hear the audio you have recorded. Headphones are a very personal choice so find some that work for you. We suggest an Over-the-Ear style which will help eliminate background noise. Avoid brands that modify the sound. Typically you want a monitor or studio type headphone.
If you live in a noisy environment and want to do an at home recording, you may want to invest in sound proofing tools such as foam pads to attach to the wall, or a sound absorbing booth.
McMaster community: If you are interested in trying out a professional recording studio, check out MacPherson Institute’s Audio Studio. Or, rent/borrow some professional recording equipment from Lyon’s New Media Centre at McMaster University!
Software Considerations
Now that you’re familiar with some recording principles and hardware, we’ll move onto the software. Regardless of your setup you will need some software to record your audio.
Below we’ve listed a few options to consider that you most likely have access to and a free program to explore.
PowerPoint
PowerPoint is a great tool that allows you to easily record audio and add it to your presentations or make a video. You may be familiar with the term ‘voice-over PowerPoint’. This is a typical approach in e-learning where the instructor creates content on a slide deck, and then adds voice-over to the slides. This can provide context and insight, or narrate an important learning opportunity that is visualized on the slide.
While PowerPoint can record audio, there are some challenges. The recordings are stored on each slide and can introduce technical difficulties. Also, it is difficult to record great audio when there is very little control over the recording experience. If you make a mistake it can be a challenge to correct. If you are recording a simple or short piece of audio for a slide, then Power Point might be the perfect option.
Review this step-by-step PowerPoint resource that illustrates the processes of adding audio (music, narration, or sound bites), to your PowerPoint presentation, and how to record and listen back to your recording. This resource provides specific steps for using PowerPoint on a Mac or PC computer, as well as different versions of the software. Please note, that to record audio or listen in PowerPoint, your computer must be equipped with a sound card, microphone, and speakers.
Audacity
If you’re looking to record audio without PowerPoint and want to be able to do the basics of editing, we recommend a free program called Audacity. Audacity is a great tool for anyone who wants to get creative with sound. It’s an excellent tool to quickly record, edit or export audio.
You can download and install it here: https://www.audacityteam.org/
Once you’ve got Audacity installed, review the following basic tutorials on how to record, edit and export audio.
Camtasia
Camtasia is known as screen recording software, but it can also be a great tool for creating great audio. Camtasia gives the user a lot of control over the recording experience. This includes the option to see and adjust your audio levels/volume. Camtasia also provides many tools to fix recording mistakes or edit and share audio. You can also record your PowerPoint presentations into Camtasia to create a polished video. If you can think of a way to use audio in your course content (creating a podcast, recording a lecture, etc.) or to engage with students, Camtasia probably has all of the tools you will need.
Once you have Camtasia downloaded on to your computer, review these Camtasia video tutorials or watch the videos below to get you started with recording in Camtasia. Make sure you have your mic, headphones and quiet recording environment ready to go! After you have tried recording in Camtasia, watch the How To Improve Your Audio tutorials to instruct you on how to achieve the best results.
Video Tutorials
Review the following Camtasia tutorial videos to learn the software interface, how to record voice over and audio editing.
McMaster community: At the time of the last update to this module, University Technology Services had Camtasia available for free to McMaster Instructors. Check out the Software Hub to access our current licenses.
Audio Made Easy Module Summary
In this module, we covered how to:
- Recognize what good quality audio sounds like
- Identify the basic parts of a DIY digital recording station
- Describe steps to record and edit voiceover audio using PowerPoint, Audacity and Camtasia
- Describe steps for adding audio and voiceover to your teaching presentations
Now that you’ve made it through this module, take some time to practice recording and editing your audio!
Information Box Group
Module Reflection Form Microsoft Form
Congratulations on completing a module in the MacPherson Institute Learning Catalogue!
We hope you found the experience meaningful and relevant to your teaching and learning practice. As part of our ongoing effort to improve and grow the Learning Catalogue, we invite you to take just a few minutes to complete a short reflection form.
We know your time is valuable, and we deeply appreciate your willingness to share your thoughts.
McMaster community: If you are a part of McMaster’s teaching and learning community, and want to find out more or to practice using great audio technique, visit us at the MacPherson Institute Audio Studio or email mi@mcmaster.ca.

